How to Redact a PDF: Permanently Remove Sensitive Information
PDF Toucan editorial team · Last updated September 19, 2026 · 8 min read
If you need to know how to redact a PDF so the hidden data really disappears, the short answer is: never just draw a black box over the text. In PDF Toucan's Redact PDF tool, search for the sensitive words or drag to mark each area on the page, optionally clear the document details, then select "Redact". The marked details are permanently removed from the file and those pages are turned into images. Finish by opening the result, searching for the original terms, and checking every page before you share it.
Why are black boxes not a safe way to redact a PDF?
A PDF is not a picture of a page. It is a structured file that stores text, fonts, images and drawing instructions as separate objects. When you add a black rectangle in an annotation tool, a highlighter, or a drawing app, you add one more object on top of the text. The words underneath are untouched.
That has three practical consequences:
- The covered text is usually still selectable and copyable. Drag across the black box in a viewer, press Ctrl+C, and the original value can land on the clipboard.
- It is still searchable. A recipient who searches the document for a name, an account number or an email address will get a hit right where you thought you had hidden it.
- It can often be recovered outright. Annotations can be deleted, flattening can fail, and extraction tools read the underlying text stream directly.
The same applies to "covering" content with a white shape, changing text colour to white, or cropping a page. Cropping only changes the visible page box; the content outside it stays in the file.
Real redaction means the marked content is deleted from the output document, not layered over. That is the difference between hiding and removing.
| Approach | What happens to the original data | Safe to share? |
|---|---|---|
| Black rectangle annotation | Stays in the file under the shape | No |
| White text or white box | Stays in the file, invisible on screen | No |
| Cropping the page | Stays outside the visible area | No |
| Printing to PDF from a marked-up file | Depends on the app; often flattens, sometimes not | Unreliable |
| True redaction (content removed, page rasterised) | Removed from the output file | Yes, after review |
How do you permanently redact a PDF online for free?
The Redact PDF tool runs entirely inside your browser using a local processing engine in a web worker, so the document is never uploaded to a server. There is no account, no watermark and no daily limit on the browser tools.
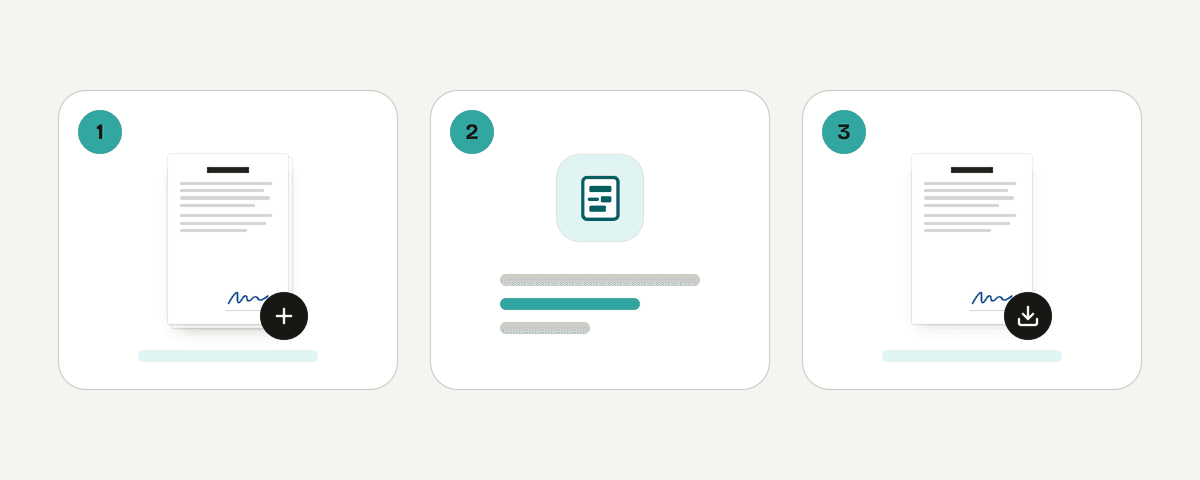
- Open Redact PDF and choose "Select PDF file". You can also drop a PDF anywhere on the page, or paste one from the clipboard. The tool takes one PDF at a time.
- Wait for the page previews to appear. If the file has a text layer, you will see a "Searching the text… x / y pages" message while it is indexed.
- Mark what has to go. You have two ways to do it, and you can mix them:
- Type a term under "Word to redact" (the field hints at Name, surname, company…) and choose "Add".
- Drag on a page to select an area. The page help text reads "Drag to select an area; Enter adds a new box from the keyboard."
- Check the "Marked areas" list. Each entry shows a page reference such as "p. 3" and lets you show it on the page or use "Remove mark" if it was caught in error. If the list still says "Nothing is marked yet", nothing will be removed.
- Open "More options" if you want to change the Box color between Black and White, or tick "Clear document details (title, author)".
- Select "Redact". The marked details are permanently removed from the file, and the affected pages are turned into images in the output.
Because redacted pages become images, expect two side effects: the text on those pages is no longer selectable or searchable, and the file size may grow. If size matters for emailing, run the finished document through the compress tool afterwards.
Keyboard and touch controls
- With a box selected: move it with the arrow keys, resize it with Alt plus the arrow keys, and delete it with the Delete key.
- On a phone or tablet, the "With your finger" control lets you switch between Scroll and Draw area so you do not move the page while trying to draw a box.
How can you automatically find ID numbers, IBANs, emails, and phone numbers?
Manually hunting for every occurrence of an account number across forty pages is where redaction usually goes wrong. The "Find automatically" section speeds that up by scanning the text layer for recognisable patterns:
- Turkish ID number
- IBAN
- Phone
- License plate
For anything that is not a standard pattern — a person's name, a company, a case reference, an internal project codename — use the "Word to redact" field and "Add" it. Each added word appears in the marked-areas list with every page where it was found, so repeated occurrences are caught in one go.
Always review the proposals before you redact. Pattern detection works on the text the PDF actually contains, and real documents break patterns constantly:
- A number split across a line break or spaced out character by character may not match.
- Unusual separators, missing country codes or local formatting can be skipped.
- Values that live inside a logo, stamp, signature block or embedded screenshot are pixels, not text, so no search will find them.
- Conversely, a word search can over-match: searching for "Lee" also hits "Leeds".
Work through the marked-areas list entry by entry, use the page reference to jump to each hit, confirm the box covers the whole value, and use "Remove mark" on anything that should stay visible.
What if the PDF is a scan or its text cannot be searched?
Some files carry no text layer at all. In those cases the tool tells you plainly: "This document has no text (it may be a scan). Automatic search cannot work; draw the areas to redact on the page." You may also see "The text of this file could not be searched", or, on an individual page, "No text on this page, select the area by hand".
That is not a failure — it just means the whole job is manual. A reliable routine:
- Go through the document page by page rather than jumping to the places you remember. Missed pages are the most common redaction mistake.
- On each page, drag a box over every item that must go: signatures, addresses, dates of birth, ID card images, account numbers, photographs, handwritten margin notes.
- Zoom in and inspect the edges of each box. A value that is 95% covered is not redacted.
- Do not forget headers, footers, page stamps, watermarks containing names, barcodes and QR codes — a QR code can encode an entire record.
- Check repeated fields. Forms often reprint the same reference number on every page.
- Then select "Redact" as usual.
How do you remove PDF metadata and verify the redaction worked?
Visible content is only half the file. Document properties can carry an author name, the original filename in the title, a subject line or keywords from the template it came from.
Before redacting, tick "Clear document details (title, author)" under "More options". The title, author, subject and keywords in the file properties are removed from the output.
Then verify. A short, repeatable check:
- Open the finished PDF in your normal viewer — not in the tool you just used.
- Visually inspect every location you marked, and scroll the whole document once from the first page to the last.
- Use the viewer's search (Ctrl+F / Cmd+F) for the original sensitive values: the name, the last four digits of the number, the email domain. Redacted pages are images, so there should be no hits there — but a hit on an unredacted page tells you that you missed an occurrence.
- Try to select and copy text over a redacted area. Nothing should come out.
- Open the document properties panel and confirm the title, author, subject and keywords are gone.
- Keep the original file stored separately, and distribute only the copy you have checked.
Automated checks are a safety net, not a verdict. Visual review is what catches the signature on page 12 that nobody thought about.
Should you password-protect a PDF after redacting it?
Encryption and redaction solve different problems. A password decides who can open the document; it does nothing about information that is still inside it. Anyone with the password — including anyone the password gets forwarded to — sees everything. So redact first, then encrypt the copy you actually send or archive.
If you do want an opening password, use Protect PDF: choose "Select PDF files", set the password, and select "Encrypt the PDFs". It encrypts with AES-256, the password never leaves your browser, and you can apply the same password to several files at once. Under "More options" you can decide whether to allow printing, copying and changes once the file is open.
Two cautions. First, write the password down somewhere safe: if you lose it, there is no way to open the file. Second, permissions like "Allow copying" are viewer-enforced conveniences, not a substitute for removing the data in the first place.
Frequently asked questions
Can you redact a PDF for free with no sign-up?
Yes. PDF Toucan's Redact PDF tool needs no account and adds no watermark, and the browser tools have no daily limit. The file is processed locally in your browser rather than sent to a server. Ads fund the site, so the redaction itself costs nothing.
How do I black out text in a PDF without leaving the original text behind?
Use a tool that removes content rather than draws over it. Mark the text by word search or by dragging an area, then select "Redact". The marked details are deleted from the output and those pages become images, so the original characters are no longer present to copy or search.
Why can't I automatically search a scanned PDF for sensitive information?
A scan is a picture of a page. Unless OCR has been run on it, the file contains no text layer, so there are no words for a search to match. The tool will say the document has no text; mark each sensitive area by hand on every page instead.
Does password protection remove personal information from a PDF?
No. A password controls access to the file; the content stays intact inside it. Anyone who receives or guesses the password sees everything, and permission settings only ask viewers to behave. Redact the sensitive details first, then add encryption to the already-cleaned copy.