JPG vs PNG for Scanning Documents: Clarity, Size, and PDF Use
PDF Toucan editorial team · Last updated September 19, 2026 · 8 min read
When you compare JPG vs PNG for scanning documents, the short answer is: PNG usually wins for text because its lossless compression keeps letters, thin lines, stamps and barcodes sharp, while JPG wins on file size and is fine for photo-heavy pages or large batches. Either format can be turned into a single shareable PDF afterwards. The rest of this guide explains the tradeoffs, the scan settings that matter more than the format choice, and the exact steps to build a PDF from your scans.
Should I scan documents as JPG or PNG?
Pick the format based on what is actually on the page and what you plan to do with it.
- Choose PNG for text-only pages, contracts, forms, receipts with fine print, signatures, stamps, barcodes, diagrams and line art — anything where crisp edges carry the meaning.
- Choose JPG for pages that are mostly photographs, or for large batches where a smaller file matters more than perfectly clean letter edges.
- Scan from the original in PNG when the document is important and storage allows it. Converting an existing JPG to PNG later cannot bring back detail the JPG compression already removed.
- Consider the scanner's own PDF output. If your scanner or scanning app can produce a searchable PDF directly, and the recipient accepts it, that is often simpler than juggling one image file per page.
| Situation | Better format | Why |
|---|---|---|
| Typed text, forms, contracts | PNG | No compression artifacts around letters |
| Receipts with tiny print | PNG | Fine strokes survive intact |
| Barcodes, QR codes, stamps | PNG | Hard edges stay readable by scanners |
| Photo prints, magazine pages | JPG | Smooth tones compress well; much smaller |
| 200-page batch for email | JPG (high quality) | Keeps the total size manageable |
| Signature or ink drawing | PNG | Thin lines stay clean |
| Master archive copy | PNG | No quality loss on re-saving |
How do JPG and PNG compression affect text sharpness and file size?
The difference is not marketing — it is how each format stores pixels.
JPG is lossy. It discards image information the encoder judges to be less visible, which usually produces a much smaller file. On photographs that is hard to notice. On a scan of black text on white paper it can be obvious: letter edges soften, and faint "ringing" or blocky halos appear around high-contrast marks, thin rules and small print.
PNG is lossless. Every pixel comes back exactly as the scanner captured it. Text, line art and flat-colour graphics stay as sharp as the scan itself. The cost is size — a full-colour A4 page at 300 dpi can be several times larger as PNG than as JPG.
A few practical notes:
- A clean grayscale or black-and-white text scan can be surprisingly compact in either format, because there is little detail to encode. PNG in particular compresses flat white backgrounds well.
- A colour photo, a shaded paper background, or scanner noise from a grey page pushes the size up in both formats.
- If you must use JPG for text, use a high quality setting. The difference between a mid-quality and a high-quality JPG is very visible on small type.
- Avoid repeated saves. Every time you open a JPG, edit it and save it again as JPG, it is recompressed and loses a little more. Edit from the original or from a lossless copy.
What scan settings work best for text, receipts, photos, and OCR?
Format choice matters less than a good capture. Fix the source first.
- Set resolution to about 300 dpi for ordinary documents, readable receipts and anything destined for an office printer. Go to 400–600 dpi only when the print is genuinely tiny, the drawing is detailed, or you expect people to zoom in. File size climbs fast with dpi.
- Choose the colour mode deliberately. Use colour when colour carries information — highlighter marks, coloured stamps, ID cards, photographs. Use grayscale for ordinary text when colour adds nothing; it often shrinks the file while keeping tonal detail that pure black-and-white would flatten away.
- Prepare the page. Flatten folds, clean the scanner glass, and square the page against the edge guide. A crooked or creased scan costs you more legibility than any format decision.
- Crop before saving. Trimming large empty borders reduces file size and makes the page read better on a phone screen.
- Run OCR after you have a legible scan if you need selectable or searchable text. OCR makes documents findable, but it reads what is there — it cannot repair blurred letters or detail the scan never captured. PDF Toucan has an OCR tool for that step once your pages are in a PDF.
Does converting JPG to PNG, or PNG to JPG, improve a scan?
This is where expectations often go wrong, so be clear on what conversion can and cannot do.
- JPG → PNG does not restore detail. It stops further loss: once the file is PNG, later saves are lossless. But the softened edges and artifacts baked in by the original JPG compression stay exactly where they are. The file usually gets bigger while looking identical.
- PNG → JPG can save a lot of space, which is genuinely useful when an upload form caps file size. The risk is softened fine text and line work. Convert one representative page first, zoom to 200–300% on the smallest print, and compare before you process a whole archive.
- Keep the best original. Archive the sharpest scan you have, and make a separate, smaller copy for email, portals or upload limits. Do not overwrite the master.
- A PDF is a container, not a repair tool. Turning images into a PDF organises them into ordered pages for sharing and printing. It does not sharpen a blurry scan. If the pages look soft, rescan rather than reconvert.
How can I convert scanned JPG or PNG files into one PDF?
Once your pages are captured, a single PDF is almost always easier to send, print and file than a folder of loose images. PDF Toucan's Image to PDF converter accepts multiple images at once, including JPG and PNG, and mixes them freely.
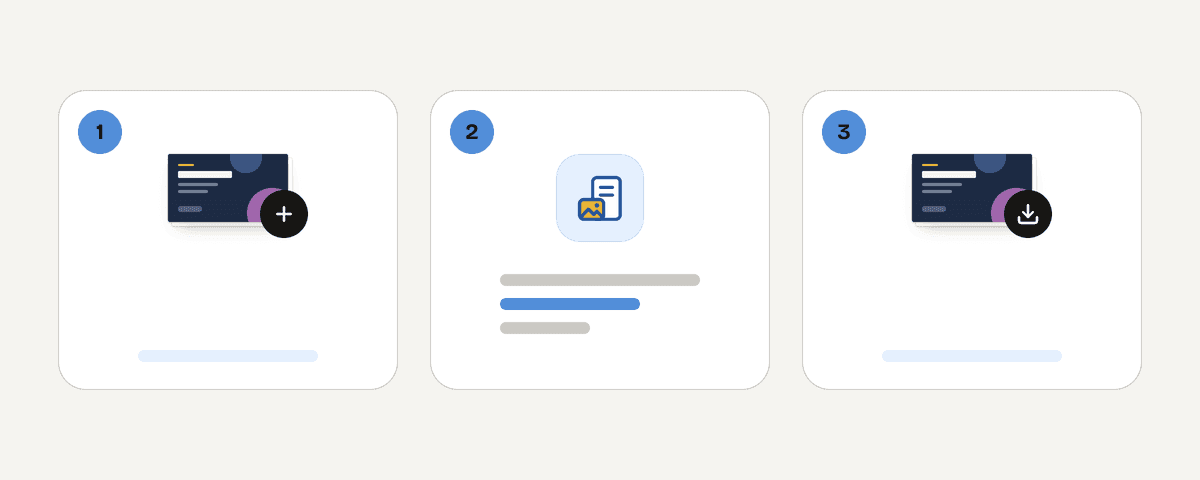
- Open the tool and press "Select images". You can also drop files anywhere on the page, or paste them straight from the clipboard.
- Check the page order. Each image becomes one page, laid out left to right in the order the cards appear. Drag the cards to rearrange them until the sequence matches the document.
- Pick a Page size. Choose Letter for US printing, A4 for the office printer standard (21 × 29.7 cm), or Fit to image so the page takes the size of the image and no empty edges are left.
- Set Page orientation. Automatic gives landscape images landscape pages and portrait images portrait pages — usually what you want for a mixed batch. Portrait or Landscape forces every page one way. This setting is not used when the page fits the image.
- Choose a Margin. None runs the image to the edge; Small leaves a thin white frame so printers do not clip the edge; Large leaves room for binding and notes.
- Leave "Combine all images into one PDF" switched on for a multi-page document. Turn it off and every image becomes its own PDF.
- Press "Convert images to PDF" and save the result.
JPG, PNG, WebP, GIF and BMP open in every browser. HEIC and TIFF work only if your browser supports them, so convert those first if the tool does not show a preview. The conversion runs inside your browser in a local processing engine — the files are not uploaded to a server. There is no account, no watermark and no daily limit on the browser tools. If the finished PDF is still too large for an email attachment, run it through the compress tool, or merge it with other PDFs if the record spans several files.
How do I turn a PDF back into JPG or PNG images?
Sometimes a site, an editor or a workflow wants individual page images instead of a PDF. PDF Toucan's PDF to image tool handles the reverse trip.
- Press "Select PDF files", or drop or paste your PDFs on the page.
- Under Which pages?, keep All of them, or pick Selected pages and click pages in the grid — you can also type a page range, which stays in sync with the grid.
- Choose an Image format:
- JPG — opens in every program and stays small; text edges can soften a little.
- PNG — lossless, so text and lines stay as sharp as they get, at the cost of the largest files.
- WebP — nearly PNG sharpness at nearly JPG size, but older programs may not open it.
- Choose a Resolution: Low for reading on screen and sending by email, Standard for crisp screen viewing and clean office printing, or High for printing and zooming in, where files grow noticeably.
- Press "Convert pages to JPG" (the label follows the format you picked). Every selected page becomes its own image; a single image downloads on its own, while multiple images download as a single ZIP.
For scanned text pages you are re-exporting, PNG at Standard resolution is the safe default. Drop to JPG only when the file count or size becomes the problem.
FAQ
Is PNG always better than JPG for scanned documents?
No. PNG is better for text, line art and barcodes because nothing is discarded. JPG is the better choice for photographic pages and for big batches where total size matters. A high-quality JPG of a clean text scan is often perfectly readable and far smaller.
What resolution should I use to scan documents for PDF?
About 300 dpi suits ordinary text, receipts and office printing. Use 400–600 dpi only for very small print, detailed drawings, or pages you expect readers to zoom into. Higher settings increase file size sharply without making already-legible text noticeably easier to read.
Can I make a searchable PDF from JPG or PNG scans?
Yes. First combine the images into a PDF, then run OCR on that PDF to add a text layer behind the page images. OCR accuracy depends on the scan: sharp, straight, well-lit pages at roughly 300 dpi produce far better results than blurry or skewed ones.
Will converting a JPG scan to PNG make the text clearer?
No. Converting to PNG prevents further loss on future saves, but it cannot rebuild edges and detail the original JPG compression already removed. The file simply gets larger while looking the same. If you need sharper text, rescan the original document in PNG.
Can I combine JPG and PNG scans in the same PDF?
Yes. The Image to PDF tool accepts mixed formats in one batch — JPG, PNG, WebP, GIF and BMP all work together. Drag the cards to set the page order, keep "Combine all images into one PDF" switched on, and convert; each image becomes one page.